Introduction
There's something deeply satisfying about playing an instrument you built with your own hands. Not assembled from a kit with plug-and-play modules — actually soldered, component by component, onto a bare PCB. That's exactly what I did with this touch synth, and the result is a compact, expressive instrument that doubles as a fully functional MIDI controller.
The PCB
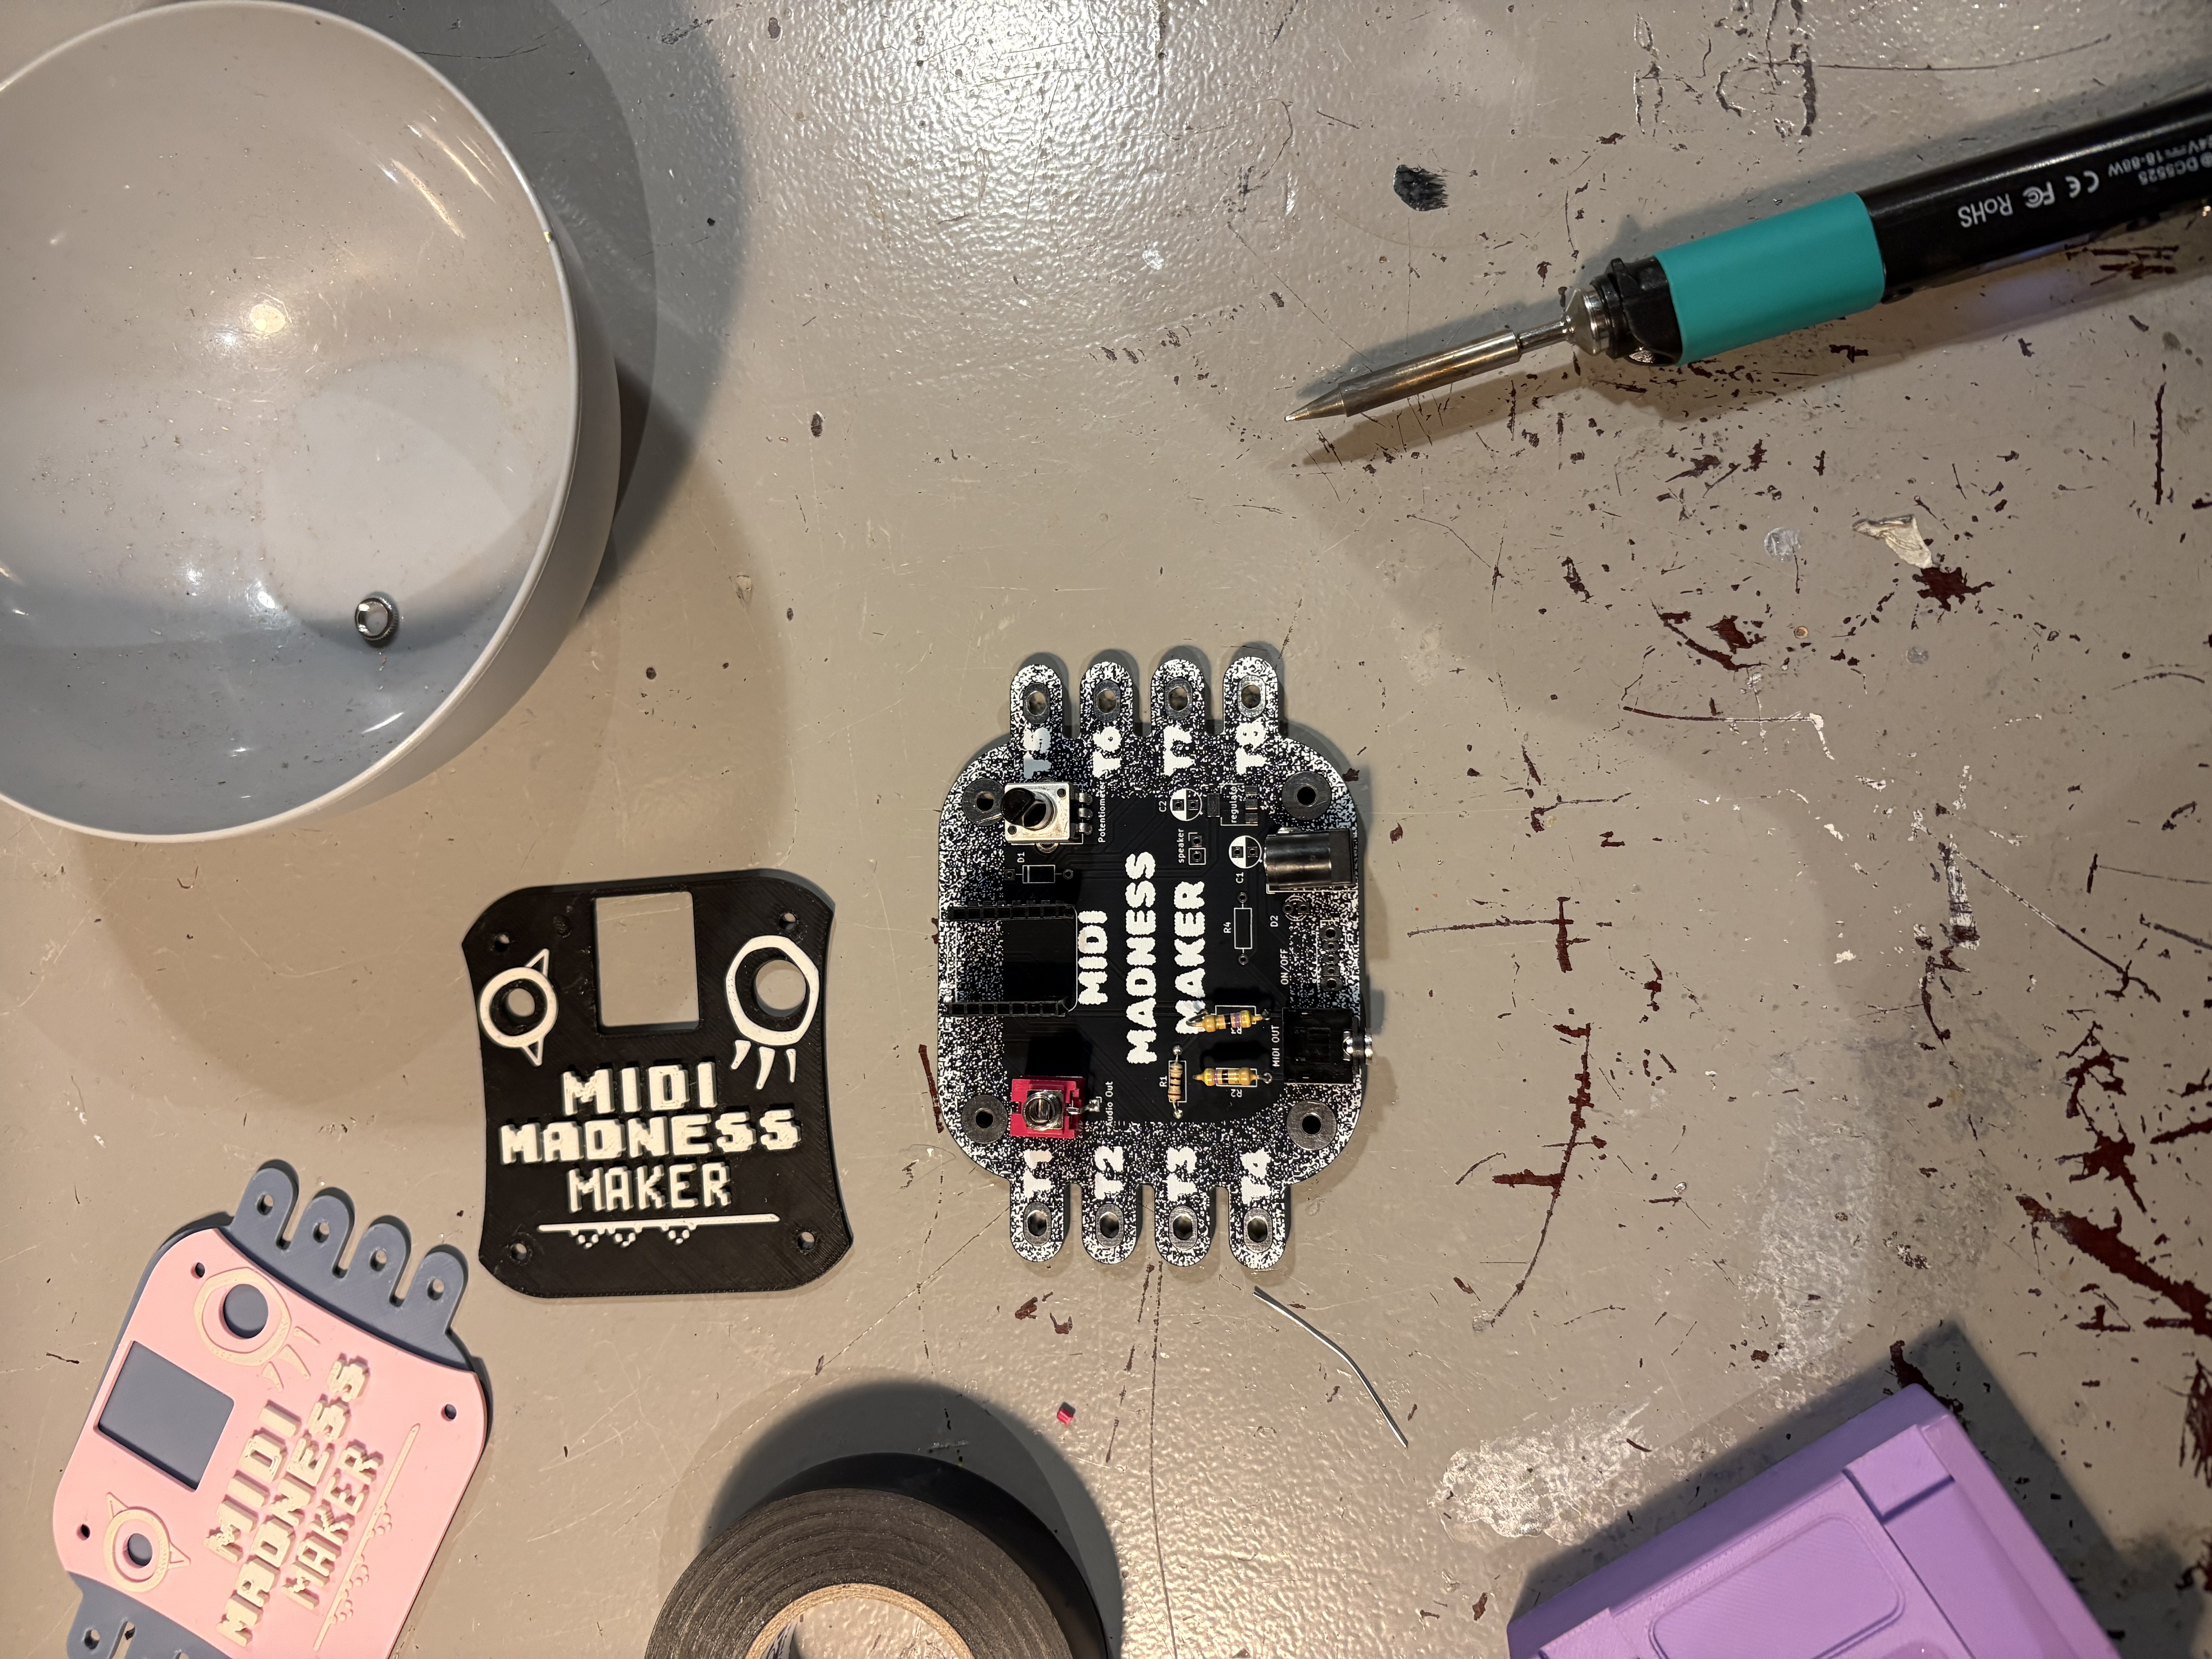
It all started with a custom PCB design. The board was laid out specifically for a capacitive touch interface — copper pads arranged as playable keys that detect finger contact. The circuit is built around a microcontroller that handles both the audio synthesis and MIDI communication, with the touch pads routed as capacitive sensor inputs.
Getting the PCB fabricated was the easy part. The real work began when the boards arrived and it was time to populate them.
Soldering It Together
Every single component on this board was hand-soldered — the microcontroller, capacitors, resistors, the audio DAC, voltage regulators, USB connector, and all the support circuitry. Some of the surface-mount components were tiny enough to need a magnifying glass and a steady hand.
The process went roughly like this:
- Place components — positioned each component with tweezers under magnification
- Hand-solder — soldered every component by hand with an iron, from the tiny SMD parts to the larger through-hole parts like the audio jack, USB port, and pin headers
- Inspect & fix — checked every joint under magnification, fixed any cold joints or bridges
There were a few tense moments — a bridged pin on the microcontroller that took careful work with solder wick to fix, and one capacitor that I accidentally tombstoned on the first attempt. But after a few hours of focused work, the board was fully populated and ready for testing.
Standalone Synth Mode
The synth works completely standalone — no computer needed. Power it up via USB or battery, and you can play it immediately. The touch pads are mapped to a chromatic scale, and the onboard audio synthesis engine generates sound that comes straight out of the 3.5mm audio jack.
The sound engine supports multiple waveforms and the touch sensitivity allows for expressive playing — pressing harder changes the velocity and timbre. It's a surprisingly playable little instrument for something you can hold in one hand.
MIDI Controller Mode
Where it gets really powerful is MIDI mode. Connect it to a computer or any MIDI-compatible device via USB, and every touch pad sends standard MIDI note messages. This means you can use it to control any software synth, DAW, or hardware that speaks MIDI.
The firmware handles both modes simultaneously — you get audio output from the onboard synth and MIDI data over USB at the same time. This makes it perfect for live performance: you hear the built-in sound for monitoring while your DAW records the MIDI data for later editing and production.
The Result
What started as a bare circuit board and a bag of components turned into a fully functional musical instrument. It's compact, portable, and genuinely fun to play. The capacitive touch pads are responsive enough for real musical expression, and having both standalone audio and MIDI output makes it versatile enough to fit into any setup.
Building hardware from scratch gives you an understanding of your tools that you just can't get any other way. Every solder joint is a decision. Every component placement matters. And when you finally power it on and hear sound come out of something you built from nothing — that's a feeling no off-the-shelf gear can match.
Build your own instruments. Make your own sounds.